mirror of
https://github.com/hcengineering/platform.git
synced 2026-08-20 19:32:22 +02:00

355 lines
11 KiB
Markdown
355 lines
11 KiB
Markdown
# Huly Platform
|
|
|
|
[](https://x.com/huly_io)
|
|

|
|
|
|
⭐️ Your star shines on us. Star us on GitHub!
|
|
|
|
## About
|
|
|
|
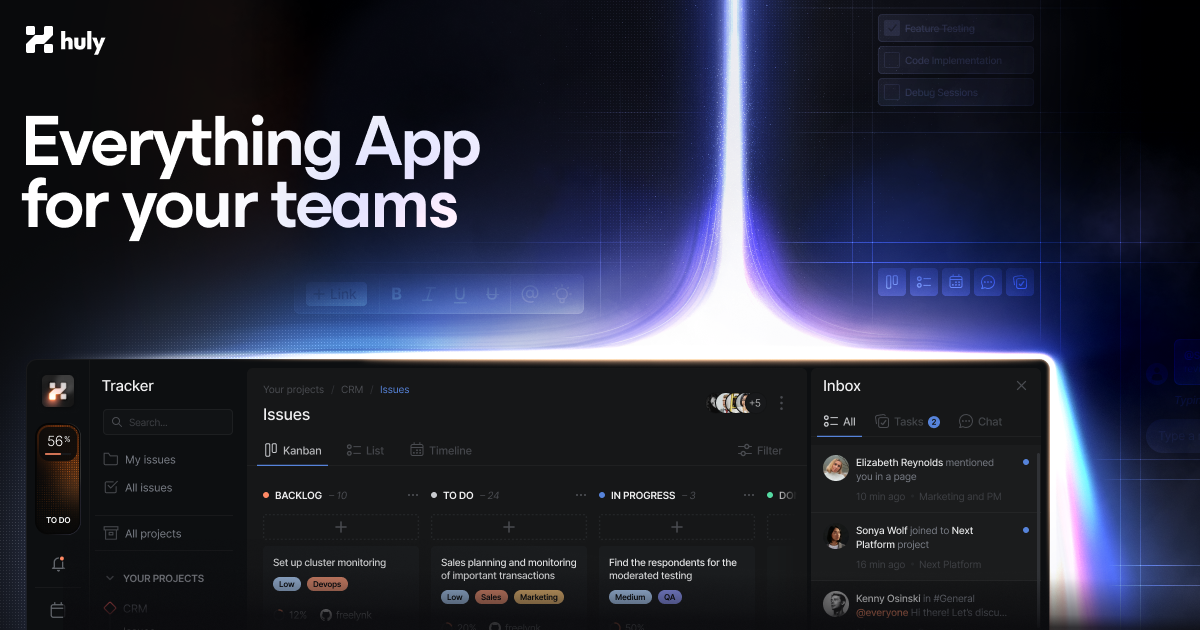
The Huly Platform is a robust framework designed to accelerate the development of business applications, such as CRM systems.
|
|
This repository includes several applications, such as Chat, Project Management, CRM, HRM, and ATS.
|
|
Various teams are building products on top of the Platform, including [Huly](https://huly.io) and [TraceX](https://tracex.co).
|
|
|
|
|
|
|
|
## Self-Hosting
|
|
|
|
If you're primarily interested in self-hosting Huly without the intention to modify or contribute to its development, please use [huly-selfhost](https://github.com/hcengineering/huly-selfhost).
|
|
This project offers a convenient method to host Huly using `docker`, designed for ease of use and quick setup. Explore this option to effortlessly enjoy Huly on your own server.
|
|
|
|
## Activity
|
|
|
|

|
|
|
|
## API Client
|
|
|
|
If you want to interact with Huly programmatically, check out our [API Client](https://github.com/hcengineering/huly.core/tree/main/packages/api-client) documentation. The API client provides a typed interface for all Huly operations and can be used to build integrations and custom applications.
|
|
|
|
You can find API usage examples in the [Huly examples](https://github.com/hcengineering/huly-examples) repository.
|
|
|
|
## Changelog
|
|
|
|
For detailed information about changes, improvements, and bug fixes in each version, see our [Changelog](./changelog.md).
|
|
|
|
## Table of Contents
|
|
|
|
- [Huly Platform](#huly-platform)
|
|
- [About](#about)
|
|
- [Self-Hosting](#self-hosting)
|
|
- [Activity](#activity)
|
|
- [API Client](#api-client)
|
|
- [Changelog](#changelog)
|
|
- [Table of Contents](#table-of-contents)
|
|
- [Pre-requisites](#pre-requisites)
|
|
- [Verification](#verification)
|
|
- [Branches \& Contributing](#branches--contributing)
|
|
- [Setup dev environment](#setup-dev-environment)
|
|
- [Fast start](#fast-start)
|
|
- [Installation](#installation)
|
|
- [Build and run](#build-and-run)
|
|
- [Run in development mode](#run-in-development-mode)
|
|
- [Update project structure and database](#update-project-structure-and-database)
|
|
- [Troubleshooting](#troubleshooting)
|
|
- [Build \& Watch](#build--watch)
|
|
- [Tests](#tests)
|
|
- [Unit tests](#unit-tests)
|
|
- [UI tests](#ui-tests)
|
|
- [Package publishing](#package-publishing)
|
|
- [Additional testing](#additional-testing)
|
|
- [WSL build guide](#wsl-build-guide)
|
|
|
|
## Pre-requisites
|
|
|
|
- Before proceeding, ensure that your system meets the following requirements:
|
|
- [Node.js](https://nodejs.org/en/download/) (v20.11.0 is required)
|
|
- [Docker](https://docs.docker.com/get-docker/)
|
|
- [Docker Compose](https://docs.docker.com/compose/install/)
|
|
|
|
## Verification
|
|
|
|
To verify the installation, perform the following checks in your terminal:
|
|
|
|
- Ensure that the `docker` commands are available:
|
|
|
|
```bash
|
|
docker --version
|
|
docker compose version
|
|
```
|
|
|
|
## Branches & Contributing
|
|
|
|
- The `main` branch is the default branch used for production deployments.
|
|
Changes to this branch are made from the `staging` branch once a version is ready for community use.
|
|
|
|
- The `staging` branch is used for pre-release testing.
|
|
It is stable enough for testing but not yet ready for production deployment.
|
|
|
|
- The `develop` branch is used for development and is the default branch for contributions.
|
|
|
|
We periodically merge `develop` into `staging` to perform testing builds. Once we are satisfied with the build quality in our pre-release deployment, we merge changes into `main` and release a new version to the community.
|
|
|
|
## Setup dev environment
|
|
|
|
### To initialise the communication submodule
|
|
|
|
```bash
|
|
git submodule init
|
|
git submodule update
|
|
```
|
|
|
|
### To update the communication submodule
|
|
|
|
```bash
|
|
git submodule update
|
|
```
|
|
|
|
### Authentication
|
|
|
|
This project uses GitHub Packages for dependency management. To successfully download dependencies, you need to generate a GitHub personal access token and log in to npm using that token.
|
|
|
|
Follow these steps:
|
|
|
|
1. Generate a GitHub Token:
|
|
- Log in to your GitHub account
|
|
- Go to **Settings** > **Developer settings** > **Personal access tokens** (https://github.com/settings/personal-access-tokens)
|
|
- Click **Generate new token**
|
|
- Select the required scopes (at least `read:packages`)
|
|
- Generate the token and copy it
|
|
|
|
2. Authenticate with npm:
|
|
```bash
|
|
npm login --registry=https://npm.pkg.github.com
|
|
```
|
|
|
|
When prompted, enter your GitHub username, use the generated token as your password
|
|
|
|
|
|
## Fast start
|
|
|
|
```bash
|
|
sh ./scripts/fast-start.sh
|
|
```
|
|
|
|
## Installation
|
|
|
|
You need Microsoft's [rush](https://rushjs.io) to install the application.
|
|
|
|
1. Install Rush globally using the command:
|
|
|
|
```bash
|
|
npm install -g @microsoft/rush
|
|
```
|
|
|
|
2. Navigate to the repository root and run the following commands:
|
|
|
|
```bash
|
|
rush install
|
|
rush build
|
|
```
|
|
|
|
Alternatively, you can just execute:
|
|
|
|
```bash
|
|
sh ./scripts/presetup-rush.sh
|
|
```
|
|
|
|
## Build and run
|
|
|
|
Development environment setup requires Docker to be installed on system.
|
|
|
|
Support is available for both amd64 and arm64 containers on Linux and macOS.
|
|
|
|
```bash
|
|
cd ./dev/
|
|
rush build # Will build all the required packages.
|
|
# rush rebuild # could be used to omit build cache.
|
|
rush bundle # Will prepare bundles.
|
|
rush package # Will build all webpack packages.
|
|
rush validate # Will validate all sources with typescript and generate d.ts files required for ts-node execution.
|
|
rush svelte-check # Optional. svelte files validation using svelte-check.
|
|
rush docker:build # Will build Docker containers for all applications in the local Docker environment.
|
|
rush docker:up # Will set up all the containers
|
|
```
|
|
|
|
Be aware `rush docker:build` will automatically execute all required phases like build, bundle, package.
|
|
|
|
Alternatively, you can just execute:
|
|
|
|
```bash
|
|
sh ./scripts/build.sh
|
|
```
|
|
|
|
By default, Docker volumes named dev_db, dev_elastic, and dev_files will be created for the MongoDB, Elasticsearch, and MinIO instances.
|
|
|
|
Add the following line to your /etc/hosts file
|
|
|
|
```plain
|
|
127.0.0.1 huly.local
|
|
::1 huly.local
|
|
```
|
|
|
|
Accessing the URL <http://huly.local:8087> will lead you to the app in development mode.
|
|
|
|
Limitations:
|
|
|
|
- Local installation does not support sending emails, thus disabling functionalities such as password recovery and email notifications.
|
|
|
|
## Run in development mode
|
|
|
|
Development mode allows for live reloading and a smoother development process.
|
|
|
|
```bash
|
|
cd dev/prod
|
|
rush validate
|
|
rushx dev-server
|
|
```
|
|
|
|
Then go to <http://localhost:8080>
|
|
|
|
Select "Sign up" on the right panel and click the "Sign up with password" link at the bottom. Enter the new user's credentials, then proceed to create a workspace for them.
|
|
|
|
## Update project structure and database
|
|
|
|
If the project's structure is updated, it may be necessary to relink and rebuild the projects.
|
|
|
|
```bash
|
|
rush update
|
|
rush build
|
|
```
|
|
|
|
## Troubleshooting
|
|
|
|
If a build fails, but the code is correct, try to delete the [build cache](https://rushjs.io/pages/maintainer/build_cache/) and retry.
|
|
|
|
```bash
|
|
# from the project root
|
|
rm -rf common/temp/build-cache
|
|
```
|
|
|
|
## Build & Watch
|
|
|
|
For development purpose `rush build:watch` action could be used.
|
|
|
|
It includes build and validate phases in watch mode.
|
|
|
|
## Tests
|
|
|
|
### Unit tests
|
|
|
|
```bash
|
|
rush test # To execute all tests
|
|
|
|
rushx test # For individual test execution inside a package directory
|
|
```
|
|
|
|
### UI tests
|
|
|
|
```bash
|
|
cd ./tests
|
|
rush build
|
|
rush bundle
|
|
rush docker:build
|
|
## creates test Docker containers and sets up test database
|
|
./prepare.sh
|
|
## runs UI tests
|
|
rushx uitest
|
|
```
|
|
|
|
To execute tests in the development environment, please follow these steps:
|
|
|
|
```bash
|
|
cd ./tests
|
|
./create-local.sh ## use ./restore-local.sh if you only want to restore the workspace to a predefined initial state for sanity.
|
|
cd ./sanity
|
|
rushx dev-uitest # To execute all tests against the development environment.
|
|
rushx dev-debug -g 'pattern' # To execute tests in debug mode with only the matching test pattern.
|
|
```
|
|
|
|
## Package publishing
|
|
|
|
```bash
|
|
node ./common/scripts/bump.js -p projectName
|
|
```
|
|
|
|
## Additional testing
|
|
|
|
This project is tested with BrowserStack.
|
|
|
|
## WSL build guide
|
|
|
|
This guide describes the nuances of building and running the application from source code located on your NTFS drive, which is accessible from both Windows and WSL.
|
|
|
|
### Prerequisites
|
|
|
|
#### Disk Space Requirements
|
|
|
|
Ensure you have sufficient disk space available:
|
|
- A fully deployed local application in clean Docker will consume slightly more than **35 GB** of WSL virtual disk space
|
|
- The application folder after build (sources + artifacts) will occupy **4.5 GB**
|
|
|
|
If there's insufficient space on your system drive (usually `C:\`), you can change the virtual disk location in Docker Settings → Resources → Advanced.
|
|
|
|
#### Docker WSL Integration
|
|
|
|
Make sure Docker is accessible from WSL:
|
|
|
|
1. Go to Docker Settings → Resources → Advanced → WSL Integration
|
|
2. Select the distribution where you'll be building and running the application
|
|
3. Verify integration works by running this command in WSL:
|
|
```bash
|
|
docker run hello-world
|
|
```
|
|
|
|
### Common Issues and Solutions
|
|
|
|
#### Git Line Endings on Windows
|
|
|
|
Windows Git often automatically replaces line endings. Since most build scripts are `.sh` files, ensure your Windows checkout doesn't break them.
|
|
|
|
**Solution options:**
|
|
- Checkout from WSL instead of Windows
|
|
- Configure Git on Windows to disable auto-replacement:
|
|
```bash
|
|
git config --global core.autocrlf false
|
|
```
|
|
This disables auto-replacement for all repositories on your machine.
|
|
|
|
#### Elevated Privileges in WSL
|
|
|
|
Some commands in the instructions require elevated privileges when working in WSL. If you're using Ubuntu distribution, prefix commands with `sudo`:
|
|
|
|
```bash
|
|
sudo npm install -g @microsoft/rush
|
|
```
|
|
|
|
#### WSL Configuration
|
|
|
|
If the source code is located on a Windows NTFS drive, then edit the `/etc/wsl.conf` file in WSL (e.g., `sudo nano /etc/wsl.conf`) and add the following content if it doesn't exist:
|
|
|
|
```ini
|
|
[automount]
|
|
enabled = true
|
|
root = /mnt/
|
|
options = "metadata,umask=22,fmask=11"
|
|
|
|
[interop]
|
|
appendWindowsPath = false
|
|
```
|
|
|
|
However, we recommend storing the repository on a WSL disk, as this dramatically improves build and maintenance operations.
|
|
|
|
### Running the Application
|
|
|
|
After these preparations, the build instructions should work without issues.
|
|
|
|
#### Port Conflicts
|
|
|
|
When starting the application (`rush docker:up`), some network ports in Windows might be occupied. You can fix port mapping in the `\dev\docker-compose.yaml` file.
|
|
|
|
**Important:** Depending on which port you change, you'll need to:
|
|
1. Find what's using that port
|
|
2. Update the new address in the corresponding service configuration
|
|
|
|
<sub><sup>© 2025 <a href="https://hardcoreeng.com">Hardcore Engineering Inc</a>.</sup></sub>
|